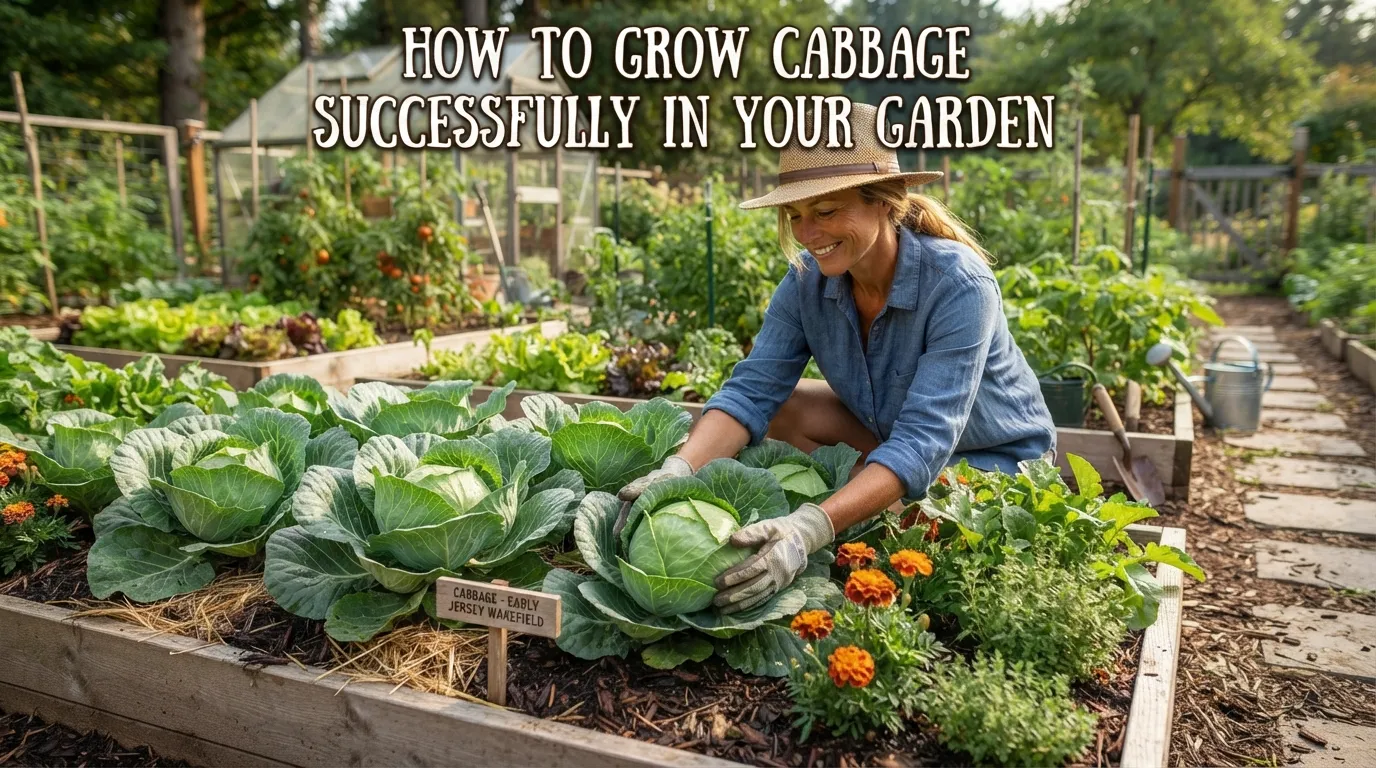
How to Grow Cabbage Successfully in Your Garden
are you looking How to Grow Cabbage Successfully in Your Garden? Growing your own cabbage might seem a bit daunting, but it’s actually pretty straightforward! Imagine crisp, fresh heads of cabbage straight from your garden. It’s totally achievable, and I’m going to walk you through how to do it. We’ll cover everything from picking the right spot to harvesting your delicious bounty.
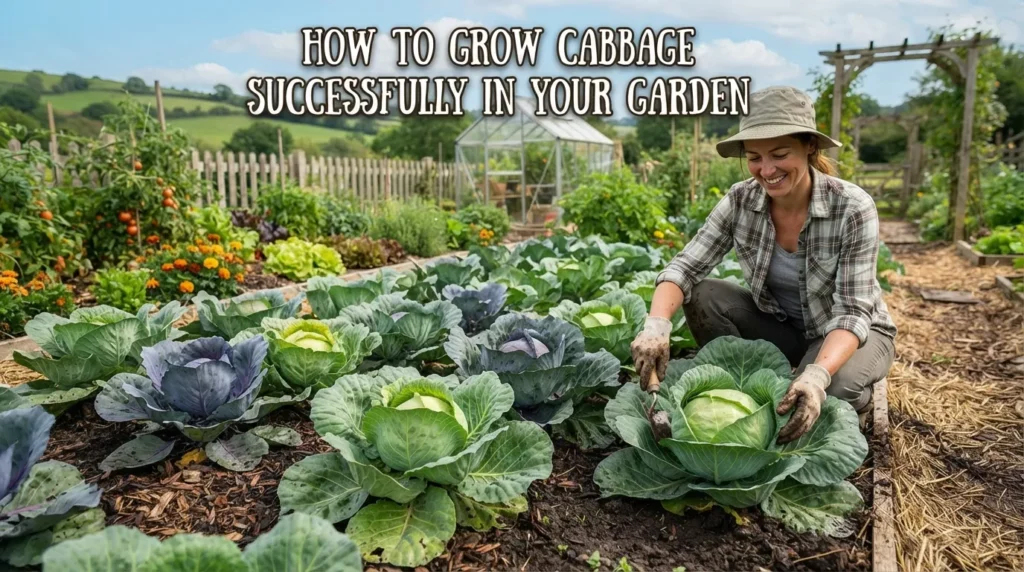
How to Grow Cabbage Successfully in Your Garden
Check below How to Grow Cabbage Successfully in Your Garden:
Choosing the Right Cabbage Variety
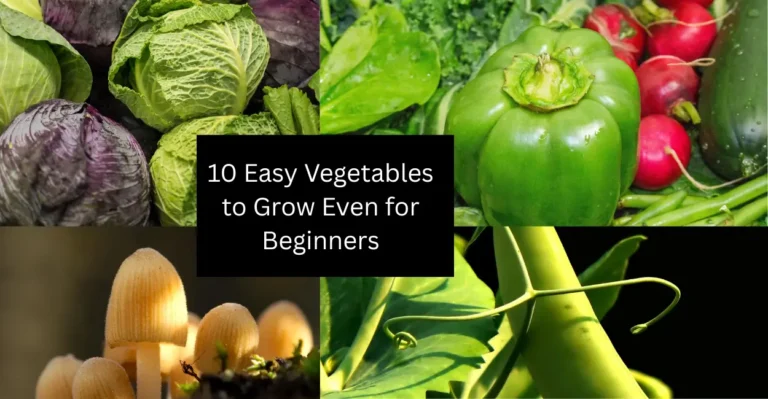
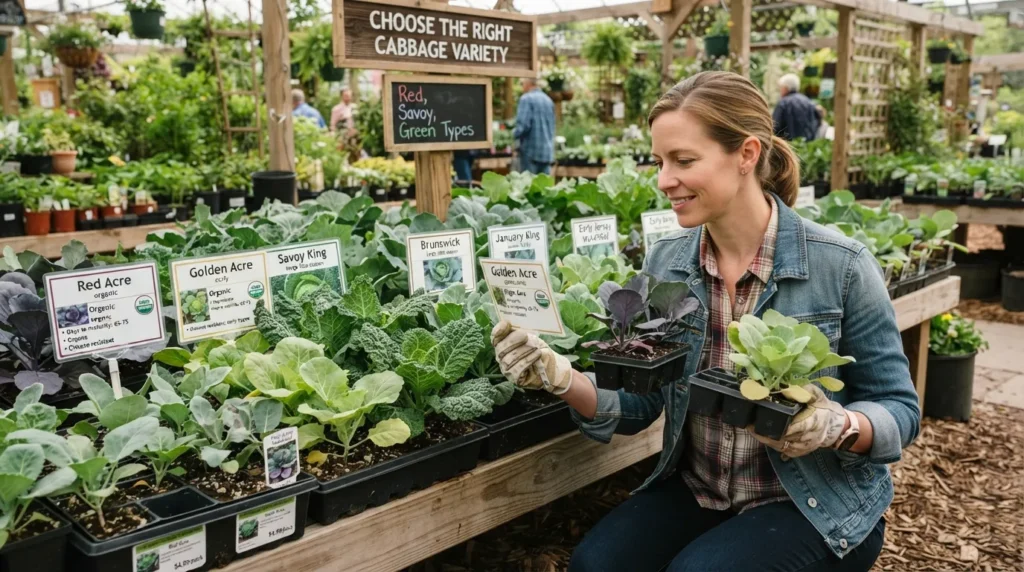
There are so many kinds of cabbage! You’ve got your common green cabbage, red cabbage, savoy cabbage with its crinkly leaves, and even Napa cabbage, which is more like a big, loose lettuce. Think about what you like to eat. Do you want cabbage for coleslaw? Or maybe for cooking in soups and stews? Some varieties are better suited for certain uses. Also, consider your climate. Some varieties do better in cooler weather, while others can handle a bit more warmth.
When you’re deciding, check the seed packets or plant tags. They’ll usually tell you how long the cabbage takes to mature and what conditions it prefers. This is super important for success. For instance, some early varieties are ready in about 60 days, while others might take 100 days or more. Picking a variety that fits your growing season is key. als o check easy backyard gardening plants.
Best Time to Plant Cabbage
Cabbage is a cool-season crop. This means it likes it when the weather is mild, not too hot and not too cold. In most parts of the U.S., this means you’ll want to plant cabbage in the spring for a summer harvest, or in the late summer for a fall harvest. Planting at the right time helps prevent the cabbage from “bolting,” which is when it sends up a flower stalk and stops forming a solid head.
For a spring planting, you can start seeds indoors about 4-6 weeks before your last expected frost. Then, transplant the seedlings outside after the danger of frost has passed, but when temperatures are still cool, typically in the 50s or 60s Fahrenheit. For a fall crop, you’ll plant seeds or transplant seedlings in mid-to-late summer, giving them enough time to mature before the first hard frost.
Finding the Perfect Spot in Your Garden
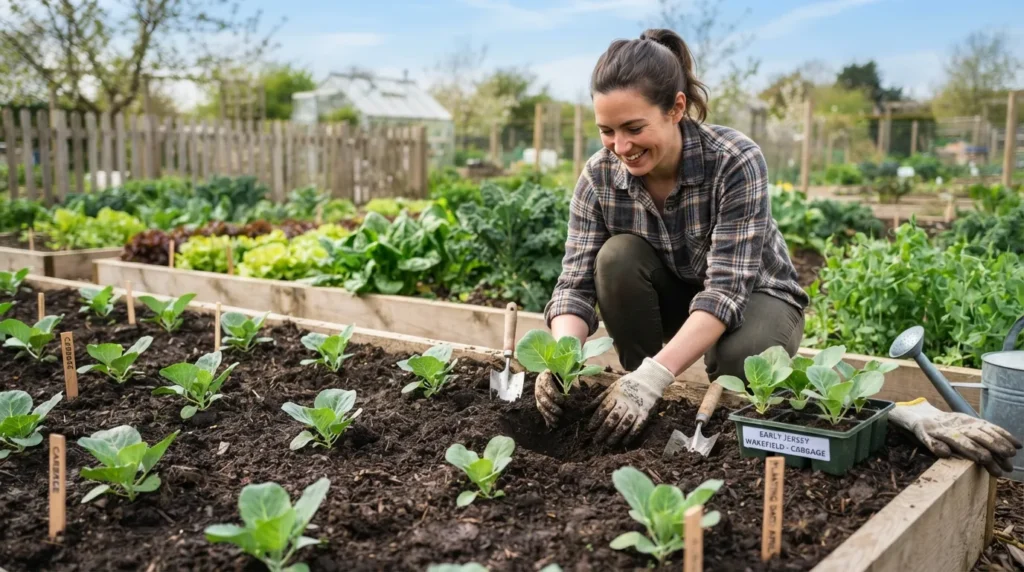
Cabbage needs sun, and lots of it! Aim for a spot that gets at least 6 to 8 hours of direct sunlight each day. Good sunlight helps the plants grow strong and form tight heads. If you don’t have a full-sun spot, cabbage can tolerate a little bit of shade, especially in hotter climates where afternoon shade might be beneficial. Just know that less sun might mean smaller heads.
Good drainage is also really important. Cabbage doesn’t like to sit in soggy soil. Wet roots can lead to rot and other diseases. If your garden soil is heavy clay, consider amending it with compost or other organic matter to improve drainage. Raised beds are also a fantastic option for ensuring good drainage and easier soil management. We’ve found that amending soil is one of the best ways to ensure your plants thrive, similar to how you’d prep for other great outdoor gardening plants.
Soil Preparation is Key
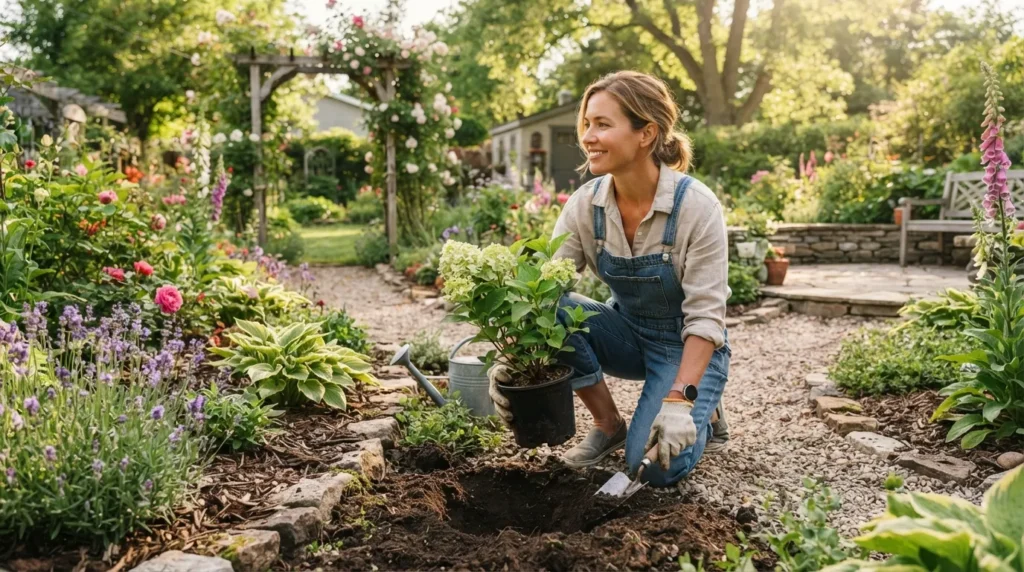
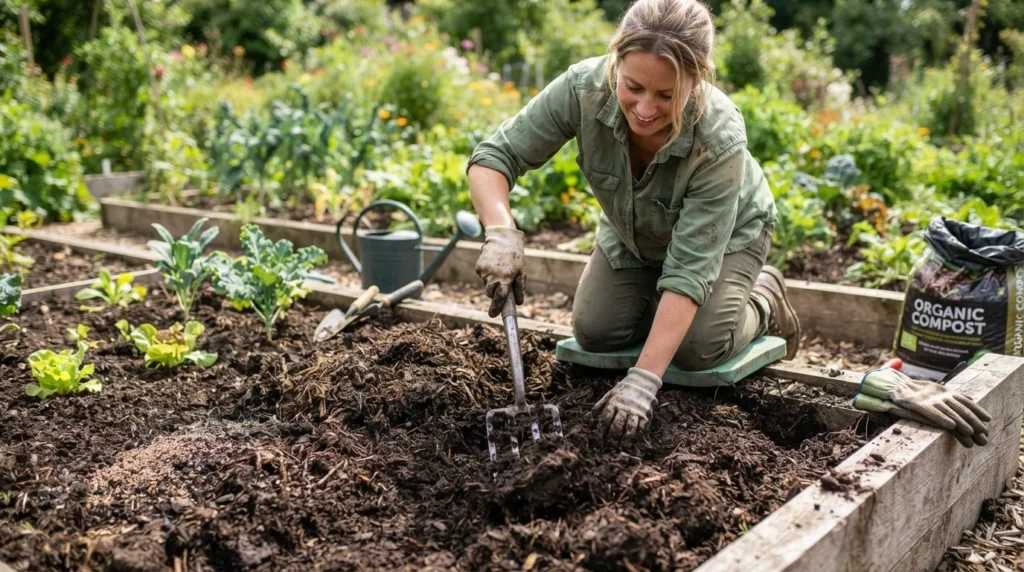
Cabbage plants are hungry! They need rich, fertile soil to produce those big, beautiful heads. Before you plant, mix a good amount of compost or well-rotted manure into your garden bed. This not only adds nutrients but also helps improve soil structure and water retention. Aim for a soil pH between 6.0 and 7.0. If you’re unsure about your soil’s pH, a simple soil test kit can tell you.
You can also add a balanced organic fertilizer when you prepare the soil. This gives your cabbage plants a good start. As the plants grow, they’ll benefit from side-dressing with more compost or a nitrogen-rich fertilizer every few weeks. This feeding helps them keep growing vigorously.
Planting Cabbage Seeds or Seedlings
You have two main ways to start growing cabbage: from seeds or from seedlings (also called transplants). Starting from seeds indoors gives you more variety to choose from and can be more economical. Sow seeds about 1/4 inch deep in small pots or seed trays filled with seed-starting mix. Keep them moist and warm, and they should sprout in about 5-10 days. Once they have a few true leaves, they’re ready to be hardened off.
Hardening off is a process where you gradually expose your indoor-grown seedlings to outdoor conditions over a week or two. This helps them adjust to the sun, wind, and cooler temperatures before you plant them in the garden. This step is crucial to prevent transplant shock. If you’re buying seedlings from a nursery, look for healthy, sturdy plants with green leaves and no signs of pests or disease.
Spacing Your Cabbage Plants
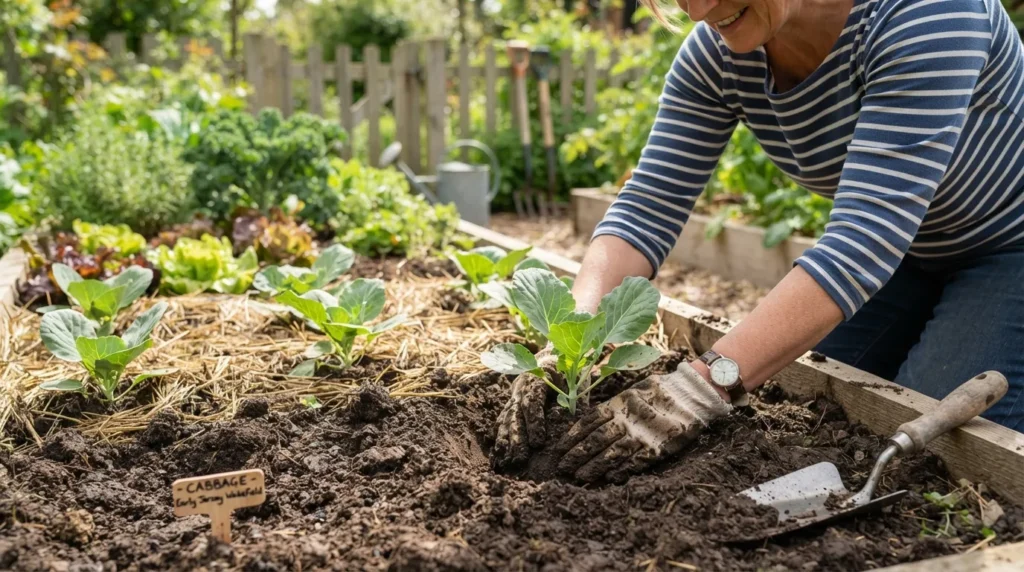
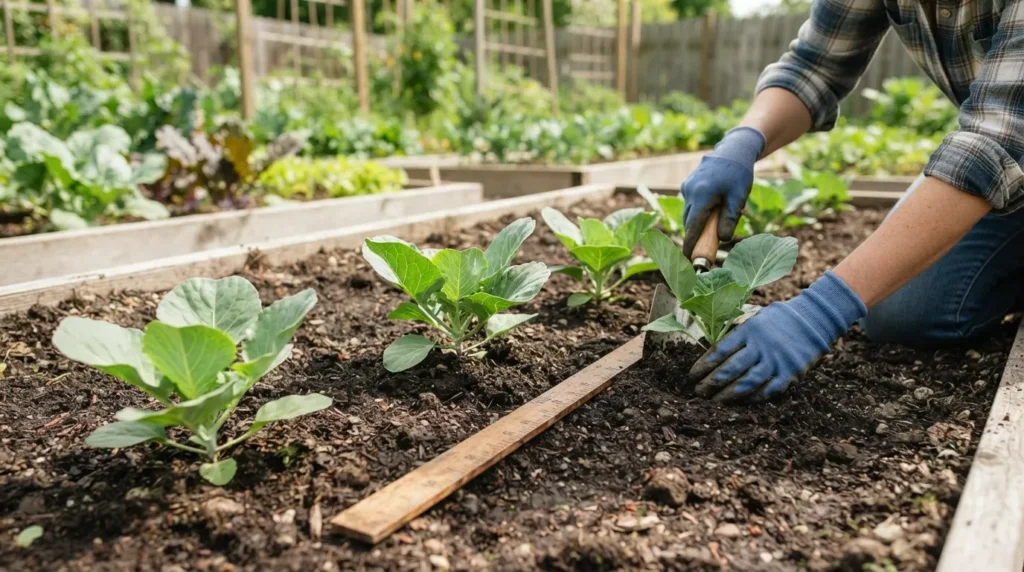
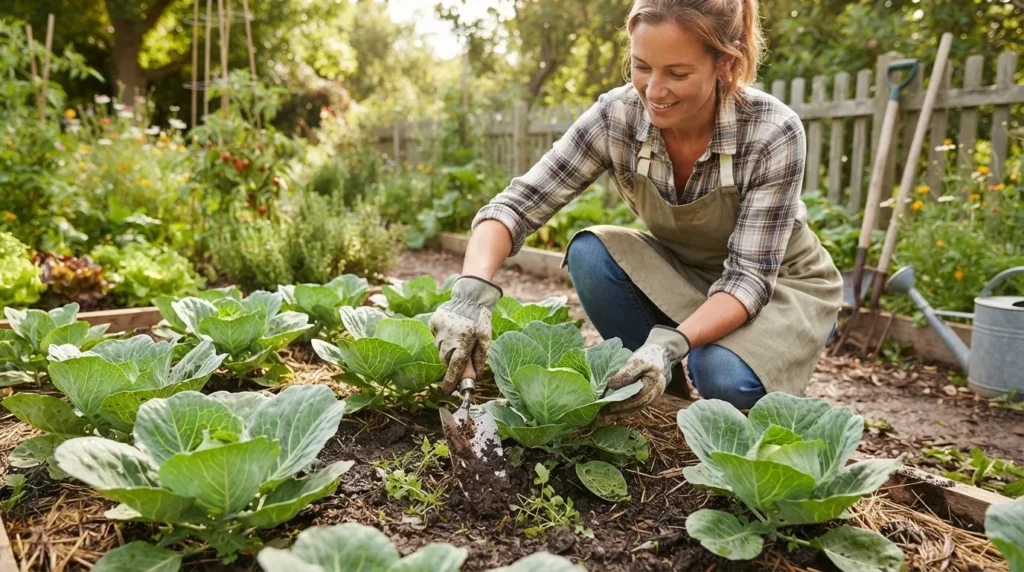
This is where many gardeners make a mistake. Cabbage plants need space to grow! If you crowd them too closely, they won’t form good heads, and they’ll be more susceptible to diseases. The exact spacing depends on the variety, but generally, plant them about 12 to 24 inches apart.
Check the seed packet or plant tag for specific recommendations. Green cabbage and red cabbage varieties usually need more space than some of the smaller Asian types. Proper spacing also ensures good air circulation, which helps prevent fungal diseases. It also makes it easier to harvest later on.
Watering Your Cabbage
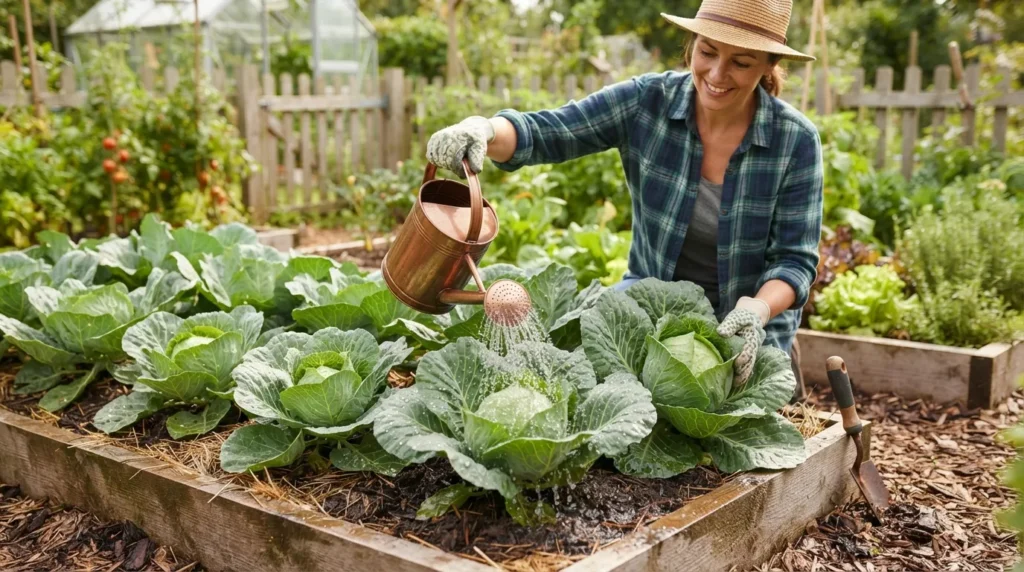
Consistent watering is super important for cabbage. They need about 1 to 1.5 inches of water per week, especially during dry spells. The best way to water is deeply and less often, rather than shallowly every day. This encourages the roots to grow deeper into the soil, making the plants more resilient.
Water at the base of the plants to keep the leaves dry. Wet leaves can encourage diseases like powdery mildew. A layer of mulch around the plants can help retain soil moisture, keep weeds down, and regulate soil temperature. Organic mulches like straw or shredded leaves work wonderfully.
Feeding Your Cabbage Plants
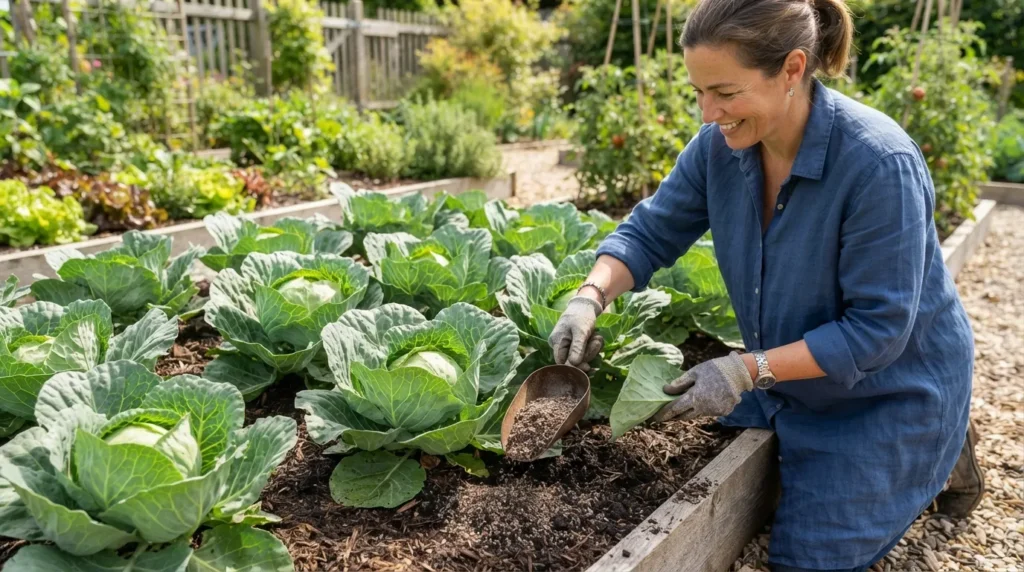
As I mentioned, cabbage is a heavy feeder. If you prepared your soil well with compost and fertilizer, you’re off to a great start. About 3-4 weeks after transplanting, and again a few weeks after that, you’ll want to give them a boost. This is called side-dressing.
You can use a balanced organic fertilizer, or a compost tea, or even just scratch some more compost into the soil around the plants. A side-dressing of a nitrogen-rich fertilizer can really help those leafy heads develop. Just be careful not to overdo it, especially with nitrogen, as too much can lead to leafy growth at the expense of head formation.
Dealing with Pests and Diseases
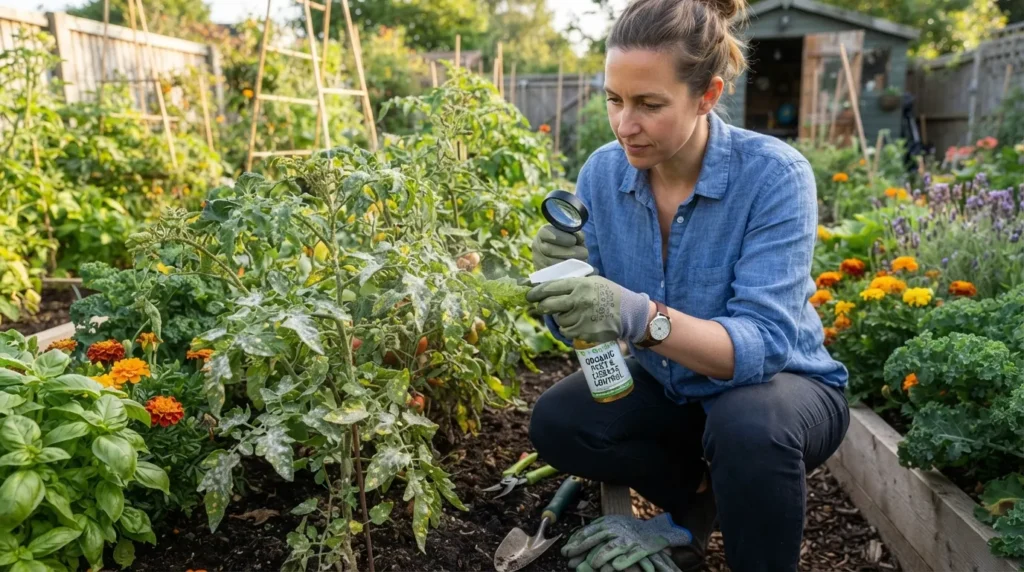
Ah, the joys of gardening! Cabbage is a favorite snack for many garden critters. The most common culprits are cabbage worms, cabbage loopers, and aphids. Cabbage worms and loopers are the larvae of moths and butterflies, and they can munch holes right through your leaves. Aphids are tiny little bugs that cluster on the undersides of leaves and suck the sap out.
Don’t despair! There are organic ways to manage these pests. Row covers are a great preventative measure. These are lightweight fabrics you can place over your plants to physically block insects from laying eggs. You can also handpick larger caterpillars off the plants and drop them into soapy water. For aphids, a strong blast of water from the hose can often dislodge them, or you can use insecticidal soap. Always inspect your plants regularly so you can catch problems early.
Common diseases include clubroot, a soil-borne disease that causes swollen, distorted roots, and various fungal leaf spots. Good soil drainage, proper spacing, and crop rotation (not planting cabbage or related crops in the same spot year after year) are your best defenses against diseases. If you’ve had issues with clubroot, consider amending your soil with lime to raise the pH, as it prefers acidic soil.
Harvesting Your Cabbage
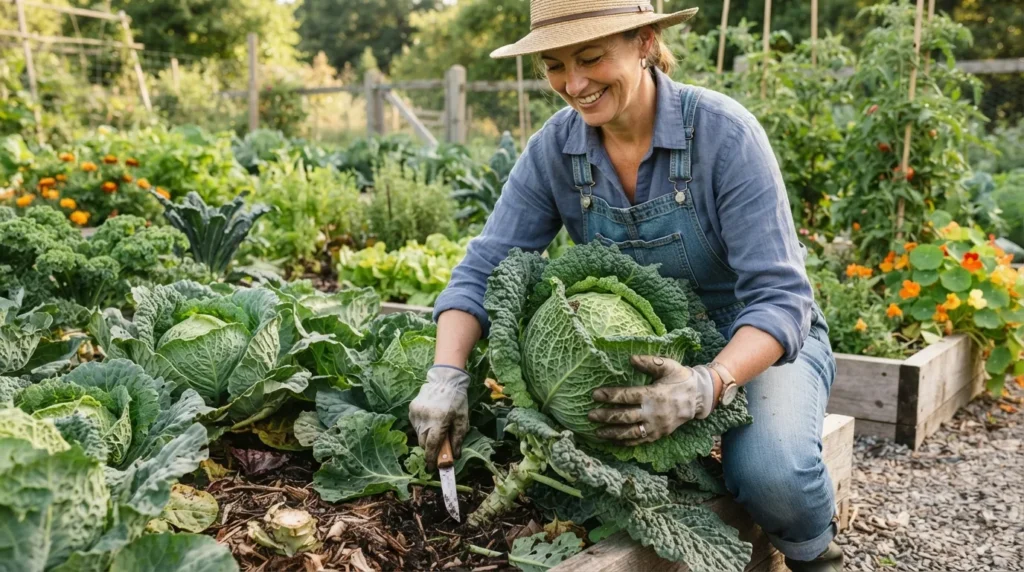
The moment you’ve been waiting for! Cabbage is ready to harvest when the heads are firm and feel solid when you gently squeeze them. The size will depend on the variety you planted. Don’t wait too long, or the heads might split, especially after heavy rain or if the plant bolts.
To harvest, use a sharp knife to cut the main stem just above the ground. You can often get a second, smaller crop of smaller heads from the side shoots that develop after you harvest the main head. It’s a nice bonus!
Caring for Your Cabbage Crop
Beyond the basics of water, sun, and food, there are a few other things to keep in mind. Keep an eye on your plants. Are the leaves a nice, healthy green? Are the heads forming well? Sometimes, a little extra attention can make all the difference. We love seeing our gardens flourish, and cabbage is a rewarding plant to grow.
If you live in an area with very hot summers, providing some afternoon shade for your cabbage might help prevent it from bolting too early. This could be as simple as planting taller plants nearby or using a shade cloth. Remember that good garden practices, like keeping the area weed-free and maintaining healthy soil, contribute to overall plant health.
FAQ’s About How to Grow Cabbage Successfully in Your Garden
Q1: How long does it take for cabbage to grow?
A: The time it takes for cabbage to grow varies by variety, but most take between 60 to 100 days from transplanting to harvest. Some early varieties mature faster, while others take longer.
Q2: Can I grow cabbage in pots?
A: Yes, you can grow cabbage in containers, but you’ll need large pots, at least 5-gallon size, with good drainage. Make sure the pot gets plenty of sun and you water it regularly.
Q3: Why is my cabbage not forming a head?
A: This can happen for a few reasons. The plant might be too young, it could be too hot, it might not be getting enough nutrients, or it could be planted too close to other plants. Inconsistent watering can also be a factor.
Q4: What can I plant next to cabbage?
A: Good companion plants for cabbage include dill, rosemary, thyme, mint, sage, and onions. These can help deter pests. Avoid planting cabbage near strawberries or tomatoes.
Q5: My cabbage leaves have holes. What is causing this?
A: The most common culprits for holes in cabbage leaves are cabbage worms and cabbage loopers, which are the larvae of moths and butterflies. Inspect your plants regularly and remove them by hand or use organic pest control methods.